How to Apply Whitening Strips Correctly, Step by Step
Applied correctly, whitening strips genuinely lighten teeth. Here is the step-by-step technique for even results with the least sensitivity.
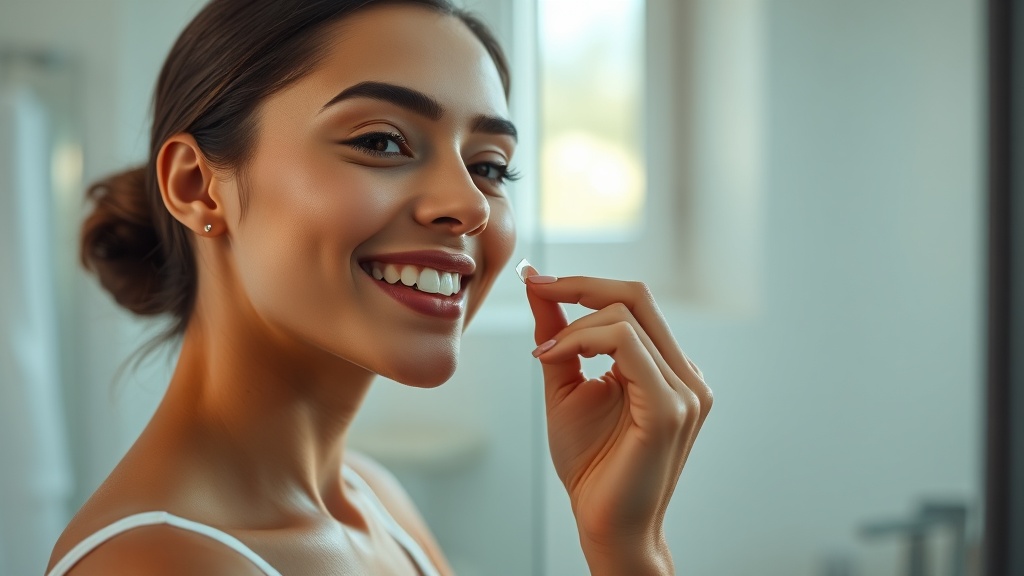
- Whitening strips genuinely work: in a controlled trial, peroxide strips lightened teeth by about 3.7 shade units versus 0.9 for a placebo strip.
- Technique is what separates an even, comfortable result from a patchy, sensitive one — most 'strips don't work' complaints trace back to how they were applied.
- Dry teeth first, place the strip just below the gumline, and press out the air bubbles so the gel sits flat against the enamel.
- Wear time matters more than gel strength: at-home whitening is driven by how long the gel stays on the tooth, not by chasing the highest concentration.
- Follow the wear time on the pack and do not leave strips on longer — extra time mostly buys sensitivity and gum irritation, not extra whiteness.
Brush, then dry your teeth with a tissue. Peel the strip, line its edge up just below your gumline, and smooth it onto the front of your teeth, pressing out any bubbles. Fold the excess behind the edges. Wear it only for the time on the pack, remove it, and rinse. Even contact and correct timing give the best, most comfortable result.
How whitening strips actually work
A whitening strip is a thin, flexible film coated with a peroxide gel. Once it is pressed against your teeth, the peroxide slowly diffuses through the enamel and oxidises the coloured molecules sitting inside the tooth — the same chemistry a dentist uses, just at a lower concentration. That is a genuinely different process from what a whitening toothpaste does: toothpaste only polishes stain off the surface, while a strip changes the tooth's underlying colour. Because the reaction happens through contact, two things decide your result. The first is how evenly the gel touches the enamel: any part of the tooth the strip does not reach — bubbles, gaps near the gumline, the shadowed spaces between teeth — simply will not lighten, which is where the dreaded patchy, streaky look comes from. The second is time. At-home whitening is driven far more by how long the gel stays in contact than by how strong it is, so a lower-concentration strip worn for its full recommended time will out-perform a rushed application of something stronger. Get flat, even contact for the full wear time and the chemistry does the rest.
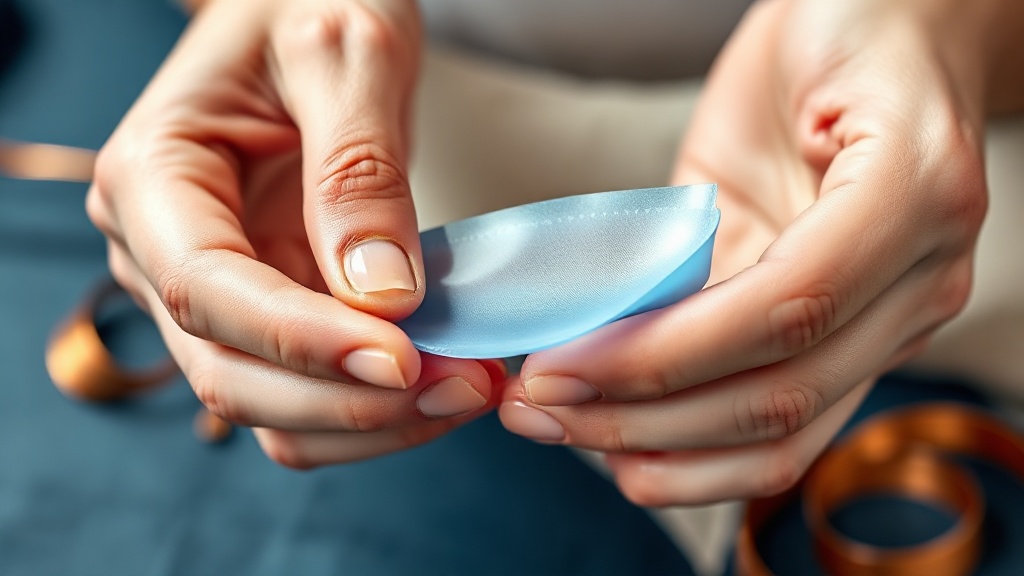
Peel the strip from its liner and handle it by the edges — the gel side is what goes against your teeth.
What the research actually shows
Every claim below maps to a named, peer-reviewed source in the Sources section. According to PubMed.
| Claim | Evidence | Source |
|---|---|---|
| Peroxide whitening strips produced a real colour change — about 3.70 shade units of lightening over two weeks versus 0.87 for a placebo strip. | Randomised, double-blind, placebo-controlled clinical trial of 5.3% hydrogen peroxide strips. | Kugel & Kastali, 2000 |
| Home whitening products work compared with placebo, and strips (5.5-6.5% hydrogen peroxide) outperformed a 10% carbamide peroxide tray. | Cochrane systematic review of home-based whitening trials. | Hasson et al., 2006 |
| Strips gave a colour change so close to dentist-supervised at-home bleaching that the difference was undetectable to the naked eye, with lower tooth sensitivity. | Systematic review and meta-analysis of 20 randomised trials. | da Rosa et al., 2020 |
| At-home whitening is time-dependent, not concentration-dependent — wearing the gel longer mattered more than using a stronger gel. | Randomised clinical trial comparing application times and concentrations over 14 days. | Lopez Darriba et al., 2017 |
| Some tooth sensitivity is common with peroxide whitening — around 60% of users in one trial — and is usually mild and temporary. | Randomised clinical trial tracking bleaching-induced sensitivity. | de Paula et al., 2014 |
Common strip mistakes and the fix
| The mistake | What it causes | The fix |
|---|---|---|
| Applying to wet teeth | The strip slides and will not stick evenly | Dry the teeth with a tissue first |
| Placing the strip flush with the gumline | Gum irritation and a white band of unwhitened enamel | Leave a hair's gap below the gumline |
| Leaving air bubbles under the strip | Patchy, streaky whitening | Press the strip flat and smooth bubbles out |
| Wearing strips far longer than directed | Sensitivity and sore gums, not extra whiteness | Follow the wear time on the pack |
| Brushing hard right after removal | Extra sensitivity on freshly bleached enamel | Rinse, then brush gently later |
Why time on the tooth beats chasing strength
It is natural to assume that a higher-percentage strip will whiten faster and better, so it is worth knowing what the trials actually found. When researchers compared different whitening concentrations and wear times head-to-head, the deciding factor was how long the gel stayed on the tooth, not how strong it was — the same product worn longer beat a stronger one worn briefly. Other reviews back this up from the safety side: pushing the concentration higher mainly buys more sensitivity without a matching gain in whiteness, and lower-concentration protocols reach a similar colour with markedly less discomfort. There is even evidence that a gentle 4% gel worn 30 minutes a day caught up to a two-hour regimen after an extra week. The practical takeaway is reassuring: you do not need the strongest strip on the shelf. Choose a strip you can comfortably wear for its full recommended time, use it consistently across the course, and let contact time do the work. That is also the kinder route for your enamel, because the discomfort of whitening rises with concentration far faster than the result does.
Evidence you can act on.
Occasional emails — new research, new protocols, no noise.
How to apply whitening strips, step by step
This is a cosmetic routine, not a treatment for any condition. Work in front of a mirror, take your time on the first application, and you will get an even result with the least sensitivity.
- 1
Brush first, then dry your teeth
2-3 minutesBrush gently and rinse, then blot the front of your teeth with a tissue or dry them with a clean finger. A dry surface lets the strip grip and keeps the gel where you place it instead of sliding around.
- 2
Identify the upper and lower strips
20 secondsMost kits use a longer strip for the top teeth and a shorter one for the bottom. Peel each from its backing and hold it by the edges, gel side toward you, so you do not smear the gel on your fingers.
- 3
Line the strip up just below the gumline
30 secondsPosition the top edge of the strip a hair below your gumline, not flush against the gum. That small gap keeps the peroxide off your gum tissue, which is the main cause of irritation, and avoids leaving a pale unwhitened band at the gumline.
- 4
Press it flat and smooth out the bubbles
30 secondsPress the strip against the front of your teeth and run a finger across it to push out any air bubbles. Every spot that traps a bubble is a spot that will not whiten, so flat, even contact is what prevents a patchy result.
- 5
Fold the excess behind your teeth
15 secondsFold the overhanging edge back over the biting edges and behind the teeth to anchor the strip. This keeps it from peeling loose while you wear it and improves contact at the edges.
- 6
Wear it only for the time on the pack
per pack, usually 30 minSet a timer and remove the strip when the time is up — not later. Extra time mostly adds sensitivity and gum soreness rather than whiteness, since the gel has largely done its job by then. Avoid eating, drinking and talking too much while it is on.
- 7
Remove, rinse, and brush gently later
1 minutePeel the strips off, rinse away any residual gel, and wipe your teeth. If you want to brush, do it gently and ideally a little later — freshly bleached enamel is briefly more sensitive, so a soft touch is kinder.

Wear time is the real lever. Follow the pack's timing and resist leaving strips on longer — extra minutes buy sensitivity, not shade.
Whitening strips are safe for most people used as directed, but check in with a dentist first if you have crowns, veneers or fillings on your front teeth (they will not lighten and can leave a colour mismatch), if you have gum recession or untreated decay, or if you are pregnant. Stop and see a dentist if sensitivity becomes sharp or lasting rather than mild and brief, if your gums stay sore or turn white where the strip sat, or if one tooth simply will not lighten with the rest — a single dark tooth can signal an issue inside the tooth that strips cannot address.
Frequently asked questions
Sources
- 1.
- 2.
- 3.
- 4.
- 5.
- 6.
- 7.
- 8.

Fix your breath at the source.
The complete science-backed protocol — engineered to eliminate volatile sulfur compounds at the biological source.
Start the Breath Protocol →Related reading
Educational purposes only. The content on this page is not medical advice and is not a substitute for consultation with a qualified dental or medical professional.
More from the library
 Answers9 min
How Often Can You Use Whitening Strips? Safe Frequency Explained
One course does most of the work; the smart move is occasional touch-ups, not back-to-back use.
Read →→ Answers8 min
Do Whitening Strips Damage Enamel? What Studies Show
An evidence-based look at whether whitening strips harm enamel: what peroxide really does to the surface, why softening is reversible, and how sensitivity differs from damage.
Read →→ Comparisons8 min
Carbamide Peroxide vs Hydrogen Peroxide for Teeth Whitening: Which Works Better?
An evidence-based comparison of the two whitening peroxides, what actually separates them, and how to choose by format and comfort rather than by the biggest number.
Read →→ Best Of8 min
Best Teeth Whitening Gel (2025): Dentist-Tested Picks for Every Budget
Whitening gel is the only at-home format that genuinely bleaches teeth. Pick the right concentration and delivery, and contact time does the rest.
Read →→ Answers8 min
Does Teeth Whitening Damage Enamel? The Evidence-Based Answer
The honest, evidence-based answer to whether whitening harms enamel — what peroxide really does to the surface, why sensitivity is not damage, and the DIY methods that actually cause wear.
Read →→ Answers8 min
Does Baking Soda Whiten Teeth? What the Evidence Says
An honest look at what baking soda can and cannot do for a whiter smile.
Read →→