How to Use a Water Flosser (Step by Step)
A practical, step-by-step technique guide to getting the most fresh-breath benefit from an oral irrigator.
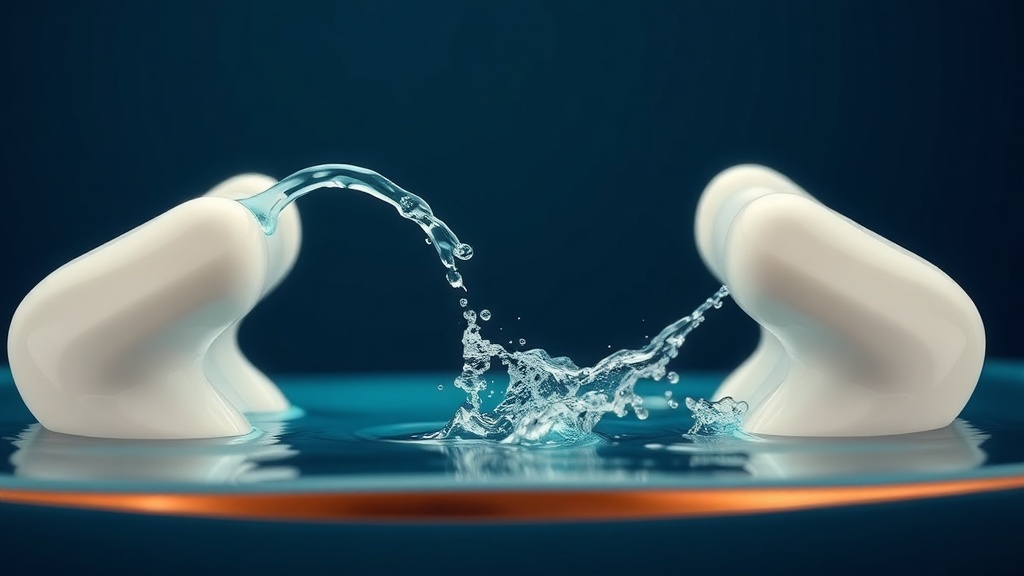
- A water flosser uses a pulsating stream of water to flush food debris and loosen the bacterial biofilm between teeth and just under the gumline, the same debris that feeds bad breath.
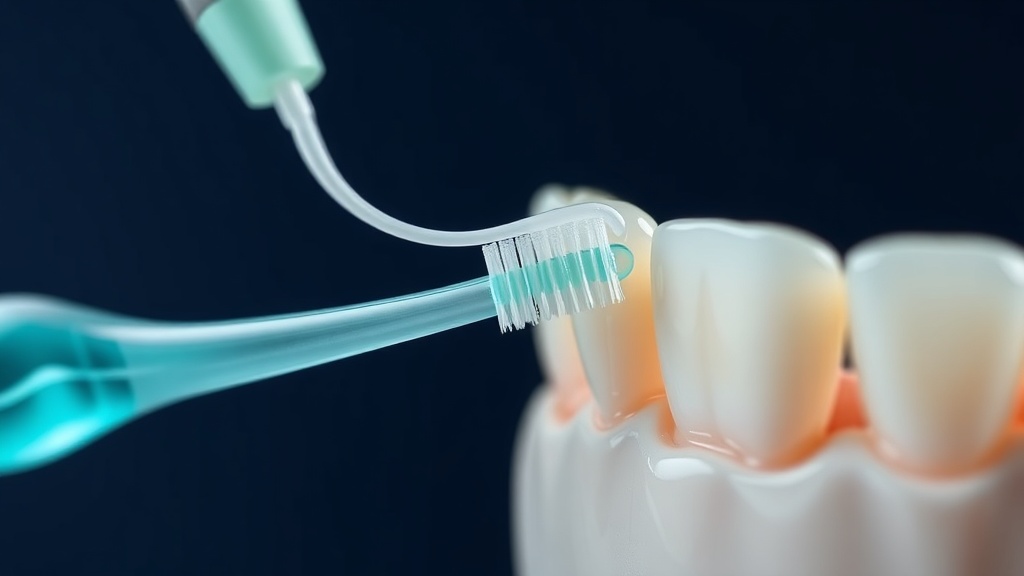
- Technique matters more than pressure: aim the tip at the gumline at about 90 degrees, trace tooth by tooth, and let the water flow out of your mouth rather than holding it in.
- Start on the lowest pressure setting and lean over the sink with your lips slightly parted; this keeps the process comfortable and mess-free while you build the habit.
- Use lukewarm water once a day, ideally before brushing, so the loosened debris is cleared before your fluoride toothpaste goes to work.
- A water flosser complements brushing and tongue cleaning rather than replacing them; it supports fresher breath but is not a cure for halitosis.
To use a water flosser, fill the reservoir with lukewarm water, lean over the sink, and place the tip against your gumline at about a 90-degree angle. Start on low pressure with your lips slightly parted so the water drains out. Trace each tooth, pausing briefly in every gap, then finish and brush.
How a water flosser helps your breath
Bad breath is overwhelmingly a local, oral event. The gases responsible, called volatile sulfur compounds, are produced when anaerobic bacteria sitting in low-oxygen niches break down trapped food and shed proteins. Two of the richest niches are the coating on the back of the tongue and the tight spaces between teeth and just under the gumline, exactly the places a toothbrush struggles to reach. A water flosser targets the second of those niches. Its pump delivers a pulsating jet of water that does two useful things at once: the pulse creates a compression-and-decompression effect that loosens the sticky biofilm clinging to the tooth surface, and the flow physically flushes away the food particles and loosened bacteria before they can ferment. Clearing that interdental debris removes the raw material the odour bacteria feed on, which is why adding an irrigator to brushing can support fresher breath rather than simply masking it.
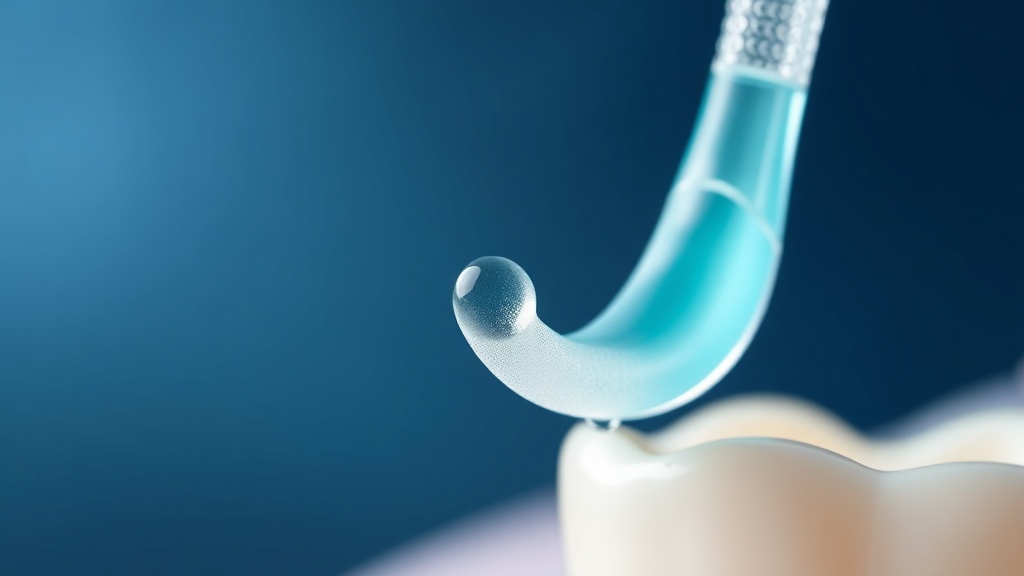
Angle and placement do the work: hold the tip at about 90 degrees to the gumline and let the pulse loosen debris.
What the research actually shows
Every claim below maps to a named, peer-reviewed source in the Sources section. According to PubMed.
| Claim | Evidence | Source |
|---|---|---|
| In a 4-week randomized trial, a water flosser plus a manual toothbrush produced a significantly greater reduction in whole-mouth bleeding on probing (0.41) than string floss plus brushing (0.19), reflecting effective interdental cleaning. | Single-blind RCT, 105 participants, water flosser vs dental floss. | Mancinelli-Lyle et al., Int J Dent Hyg 2023 |
| Around 80 to 90% of bad breath originates in the mouth itself, chiefly from bacteria on the tongue and between the teeth, so cleaning those sites is where fresh-breath efforts should focus. | Clinical review of halitosis. | Scully & Porter, BMJ 2008 |
| Mouth odour is driven by anaerobic bacteria producing volatile sulfur compounds from trapped proteins, the very debris that interdental cleaning removes. | Review of the microbiology and treatment of halitosis. | Loesche & Kazor, Periodontol 2000, 2002 |
| Systematic-review evidence on halitosis interventions is of low to very low certainty, so mechanical cleaning tools are best viewed as support for fresh breath, not guaranteed cures. | Cochrane systematic review of interventions for managing halitosis. | Kumbargere Nagraj et al., Cochrane 2019 |
Water flosser vs other interdental methods
| Interdental method | What it does best | Breath benefit | Main limitation |
|---|---|---|---|
| Water flosser | Flushing debris and reaching just under the gumline | Clears food and biofilm that feed odour bacteria | Bulkier, needs water and power |
| String floss | Scraping the flat contact surfaces between teeth | Removes the plaque film brushing misses | Technique-sensitive and often skipped |
| Interdental brushes | Cleaning wider gaps and around bridges | Good debris removal in larger spaces | Will not fit very tight contacts |
| Mouthwash | A cosmetic finishing rinse | Short-lived freshening only | Cannot dislodge lodged debris |
Why technique beats pressure
It is tempting to assume a higher pressure setting cleans better, but both the evidence and everyday experience point to technique as the deciding factor. The jet only helps if it is aimed where the odour actually starts: at the gumline and into the interdental space, held at roughly 90 degrees to the tooth. Blasting the water straight across the chewing surfaces on maximum pressure mostly makes a mess and can leave sensitive gums sore, which is the fastest way to abandon the habit. Starting low and moving slowly, pausing for a second or two in each gap, lets the pulsation do its loosening work and gives the flow time to carry debris away. Keeping your lips slightly parted so the water drains out as you go, rather than sealing your mouth and holding it in, is what keeps the whole thing comfortable and sink-friendly. Consistency at a gentle setting beats an occasional high-pressure blast every time.
Evidence you can act on.
Occasional emails — new research, new protocols, no noise.
How to use a water flosser, step by step
Once your technique is dialled in, the routine takes under a minute. Here is the sequence that gets the most fresh-breath benefit.
- 1
Fill the reservoir with lukewarm water
dailyCold water can twinge sensitive teeth and hot water is uncomfortable, so lukewarm is ideal. Fill the reservoir fully; most hold enough for one complete pass of the mouth. If you like, this is the point to add a splash of an alcohol-free rinse, though plain water does the mechanical job on its own.
- 2
Choose the tip and the lowest setting
onceFit the standard tip and turn the pressure dial to its lowest setting for your first few weeks. You can nudge it up later if your gums stay comfortable, but there is no prize for high pressure. Lean over the sink and bring the tip to your mouth before switching it on.
- 3
Place the tip at the gumline at 90 degrees
dailyRest the tip lightly against the tooth where it meets the gum, angled at about 90 degrees. Close your lips loosely around it to stop splashing, keeping them parted just enough for water to flow back out into the sink.
- 4
Trace tooth by tooth, pausing in each gap
dailySwitch on and glide the tip along the gumline, pausing briefly between each pair of teeth and at the gum margin. Work methodically from the back of one side to the back of the other so you do not miss the rear molars, where debris and odour concentrate.
- 5
Do the inside surfaces and the very back
dailyRepeat along the inner, tongue-facing surfaces and give extra attention to the far back of the last molars. These hard-to-reach spots are prime real estate for the anaerobic bacteria behind morning and persistent breath.
- 6
Finish, then brush
dailyEmpty and spit out, then brush with a fluoride toothpaste. Clearing the loosened debris first means your toothpaste meets a cleaner surface, echoing trial evidence that cleaning between the teeth before brushing improves interdental results and fluoride retention.
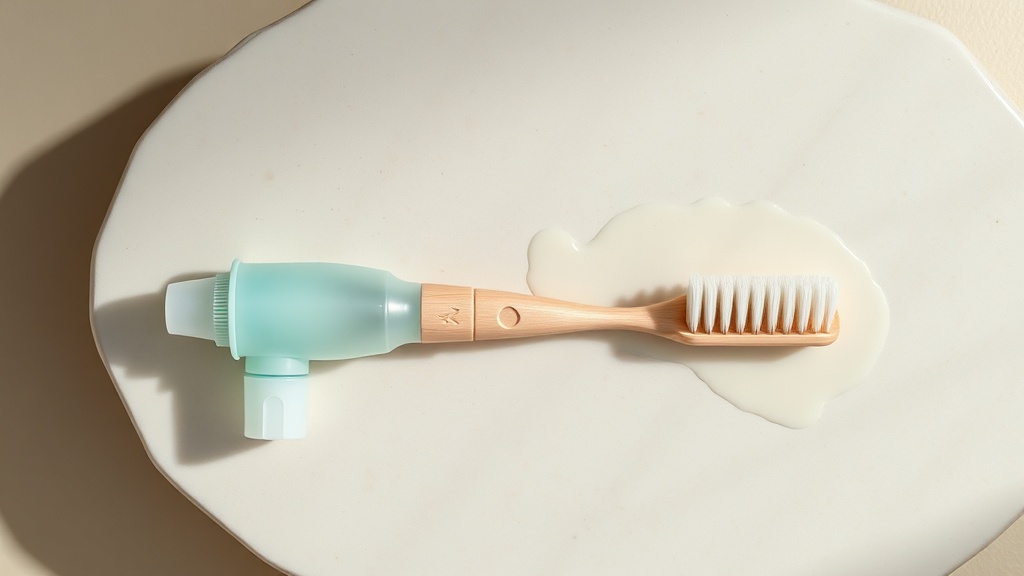
Flush first, then brush: clearing loosened debris before brushing lets your fluoride toothpaste meet cleaner surfaces.
If your gums bleed every time you use the water flosser for more than a couple of weeks, or bad breath persists despite a consistent routine, see a dentist. Ongoing bleeding can signal gum inflammation that needs professional assessment, and a dentist can check for gum disease, dry mouth or other sources a home device only partly addresses.
Frequently asked questions
Sources
- 1.
- 2.
- 3.
- 4.
- 5.

Fix your breath at the source.
The complete science-backed protocol — engineered to eliminate volatile sulfur compounds at the biological source.
Start the Breath Protocol →Related reading
Educational purposes only. The content on this page is not medical advice and is not a substitute for consultation with a qualified dental or medical professional.
More from the library
 Answers9 min
How to Remove Plaque From Teeth at Home (and When You Can't)
A practical, science-based routine for controlling soft plaque yourself — and an honest line on where home care stops and the dentist begins.
Read →→ Guides9 min
How to Fix Bad Breath: A Practical, Step-by-Step Action Plan
The practical fix-it plan: four everyday moves — tongue, teeth, hydration, and microbiome — that target where bad breath actually starts.
Read →→ Guides8 min
The Best Way to Clean Your Tongue for Fresh Breath
Most bad breath starts on the back of the tongue — here is the gentle, evidence-based way to clean it for fresher breath.
Read →→ Best Of8 min
The Best Cordless Water Flosser: How to Choose One That Actually Freshens Breath
A feature-first buyer's guide to picking a cordless water flosser you will actually use, judged by what the evidence says matters.
Read →→ Guides8 min
How to Get Rid of Bad Breath Permanently: An Evidence-Based Plan
The honest version: "permanently" means ongoing control, not a one-time fix. Here is the daily routine the research actually supports, and when to get help.
Read →→ Guides7 min
Bad Breath Even After Brushing? The Biological Reason (and Fix)
You brushed, flossed and rinsed — and the smell is still there. The reason usually isn't hygiene; it's where the odour-causing bacteria actually live.
Read →→