How to Remove Tonsil Stones at Home: The Complete Toolkit
A practical, tool-by-tool guide to clearing tonsil stones safely at home — and to the honest limits of each method.
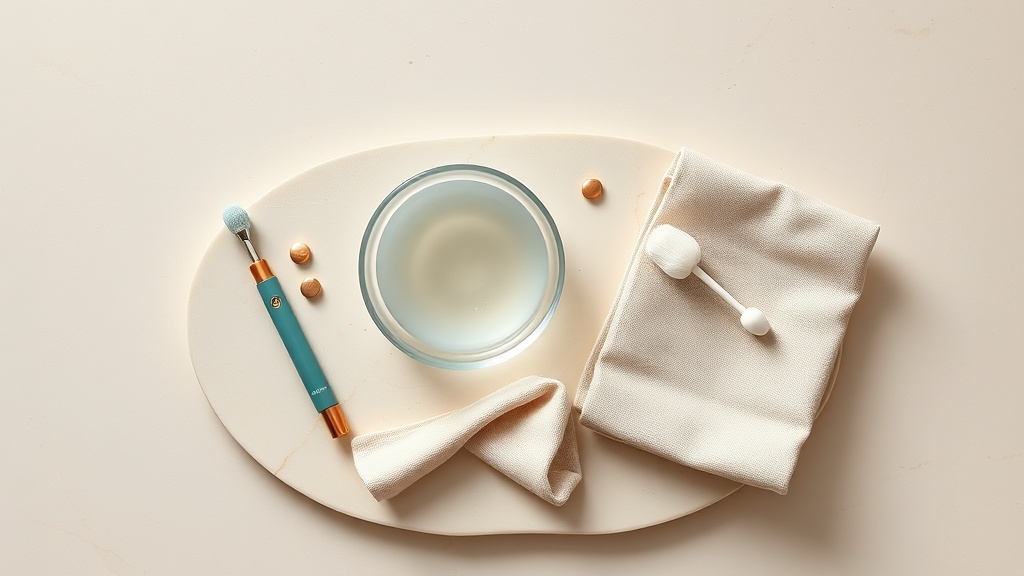
- There is no single trick to removing tonsil stones at home. A small, gentle toolkit — a low-pressure water flosser or needle-free syringe, a soft cotton swab, and a warm salt-water gargle — covers almost every situation.
- Water does the real work. Gentle irrigation flushes debris out of the crypt without cutting or bruising the tissue, and a single irrigation cycle has been shown to lower the sulfur gases behind the smell.
- Match the tool to the stone: a gargle for loose or barely-visible debris, low-pressure irrigation for a stone tucked in a crypt, and a damp swab only for one you can clearly see and reach.
- Almost every at-home method dislodges debris rather than dissolving it. Nothing you gargle or rinse chemically melts a stone, so technique and patience matter more than any product.
- Knowing when to stop is part of the toolkit. Most stones work loose on their own, and forceful digging with sharp tools risks bleeding and injury.
To remove tonsil stones at home, build a small, gentle toolkit: gargle warm salt water to loosen shallow debris, aim a low-pressure water flosser or needle-free syringe at the crypt to flush a lodged stone, and use a damp cotton swab only on one you can clearly see. Skip sharp tools, and stop if there is pain or bleeding.
Why an at-home toolkit works — and what it cannot do
A tonsil stone is not a pebble sitting on the surface. It is trapped debris and bacteria that have organised into a biofilm deep inside a tonsil crypt, a natural fold in the tonsil. That location is the whole reason ordinary brushing and mouthwash never solve it: neither reaches inside the pocket. An at-home toolkit works by doing something a rinse alone cannot — physically dislodging the debris. Water is the gentlest way to do that. In laboratory work, a pulsatile water jet stripped away roughly 99.9% of a salivary biofilm in about three seconds through hydraulic force alone, and in an independent 2025 trial a single oral-irrigation cycle measurably lowered the total sulfur gases and methyl mercaptan behind the smell. What a toolkit cannot do is dissolve a stone chemically. Even after prolonged exposure to an antiseptic, the deep core of a biofilm keeps respiring, which is why gargles and rinses loosen and freshen rather than melt anything away. Picture the whole kit that way: you are flushing and nudging debris out, not treating it with a solvent, so gentle technique matters more than any single product.
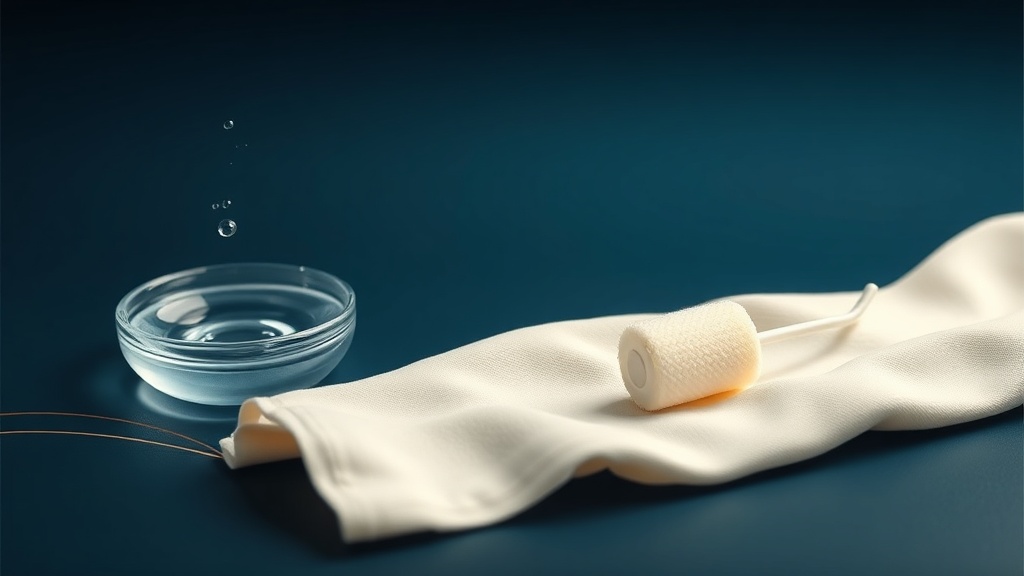
A small toolkit covers almost every case: a gargle for shallow debris, gentle irrigation for a lodged stone, a soft swab for one you can see.
What the research actually shows
Every claim below maps to a named, peer-reviewed source in the Sources section. According to PubMed.
| Claim | Evidence | Source |
|---|---|---|
| A single oral-irrigation cycle significantly lowered total sulfur gases and methyl mercaptan and removed about a quarter of plaque. | Independent oral-irrigator trial (n=20). | Karm et al., 2025 |
| A pulsatile water jet removed roughly 99.9% of a biofilm in about three seconds through hydraulic force alone. | Ex-vivo salivary-biofilm study, confirmed by microscopy. | Gorur et al., 2009 |
| Oral irrigation was found to be safe and well-accepted when used appropriately. | Independent scoping review of 275 sources. | Sarkisova et al., 2024 |
| Salt water is soothing and low-risk but is not an effective antimicrobial, so a gargle loosens debris rather than killing bacteria. | Comparative antimicrobial testing of common rinses. | Tiong et al., 2021 |
| Most tonsil stones that move drift toward the throat opening, and 12.1% disappear on their own. | Follow-up CT of 326 scan pairs. | Yamashita et al., 2021 |
Which tool for which stone
| Method or tool | Best for | Watch-outs |
|---|---|---|
| Warm salt-water gargle | Loose or barely-visible debris; daily upkeep | Soothes and loosens, but will not reach deep into a crypt |
| Low-pressure water flosser | A stone tucked inside a crypt | Use the lowest setting — high pressure can bruise tissue |
| Needle-free syringe of water | Aiming a gentle stream at one specific spot | Never fit a needle or any sharp tip |
| Damp cotton swab | A stone you can clearly see and reach | Roll, do not dig; stop if it will not budge |
| Metal picks, bobby pins, fingernails | Nothing — avoid entirely | Risk of puncture, bleeding and infection |
Reading the stone before you reach for a tool
Before you pick up anything, look. Open wide in good light with a small mirror and find where the stone actually sits — flush with the surface, tucked in a shadowed crypt, or barely a white fleck at the edge of a fold. That reading tells you which tool to reach for. A stone that is loose or shallow will often come away with nothing more than a firm gargle. One lodged in a crypt is a job for a low-pressure stream of water aimed at the pocket, not for a probe. Only a stone you can clearly see and reach is a candidate for a soft swab. Two habits make the whole process easier and safer. Keep water pressure low, because a forceful jet can bruise or bleed the delicate tissue. And work with your gag reflex rather than against it, by relaxing your throat, breathing through your nose, and staying toward the front of the tonsil. Finally, remember the reassuring biology: on repeat scans most stones that move drift toward the throat opening and are swallowed or coughed out on their own, so patience is a legitimate tool in its own right.
Evidence you can act on.
Occasional emails — new research, new protocols, no noise.
The at-home routine, step by step
This is a gentle sequence, not a race. Each step is about clearing debris before it settles — none of it treats a disease, and you can stop at any point.
- 1
Set up and take a proper look
about 1 minuteStand at a mirror in bright light, open wide, and say a soft ahh to lift the soft palate. Locate the stone and note whether it is loose on the surface or set into a crypt. Deciding what you are dealing with first prevents most of the poking that leads to injury.
- 2
Start with a warm salt-water gargle
30 to 60 secondsDissolve half a teaspoon of salt in warm water and gargle firmly, tilting your head back so the water works the back of the throat. Salt water is soothing and low-risk; it loosens shallow debris and freshens the mouth rather than acting as a real antimicrobial. For many small stones this alone is enough.
- 3
Step up to low-pressure irrigation
under a minuteIf a stone is lodged in a crypt, use a water flosser on its lowest setting or a needle-free syringe of warm water. Aim short, gentle bursts directly at the pocket. Let the hydraulic flush do the work — this is the step with the best evidence behind it for both dislodging debris and lowering the sulfur gases behind the smell.
- 4
Nudge a visible stone with a damp swab
as neededOnly for a stone you can clearly see and reach: press a moistened cotton swab gently on the tonsil tissue just below the stone and roll upward to ease it out. Never jab, and never use anything rigid or pointed. If it does not release with light pressure, leave it.
- 5
Keep the crypts clear and know when to stop
ongoingA light daily gargle and good hydration keep debris from settling long enough to harden. Stop immediately if you see blood or feel real pain, and leave any stubborn stone alone — most work loose on their own within days. Persistent or worsening problems are a cue to see a professional, not to push harder.
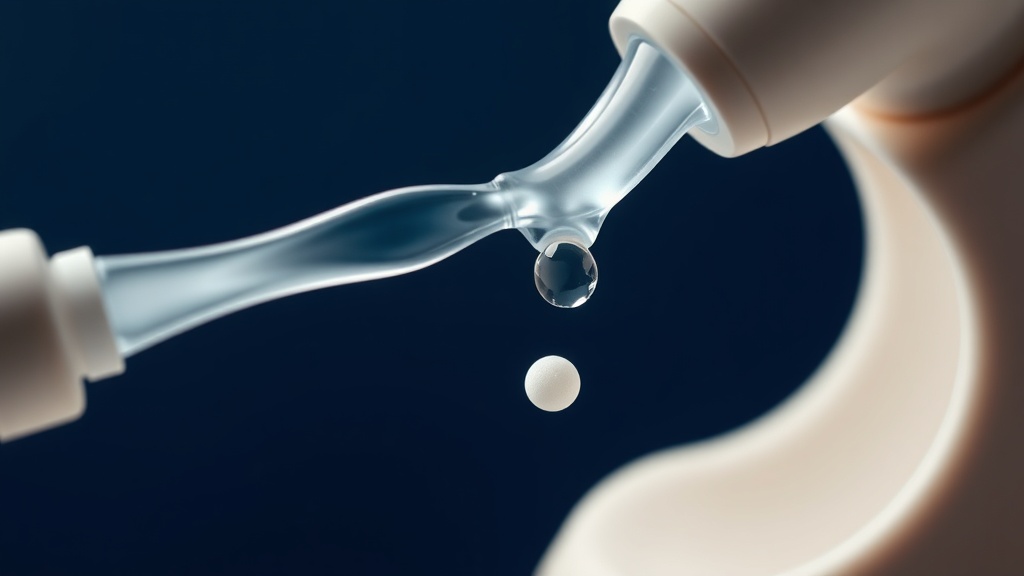
Low-pressure irrigation flushes a lodged stone out of its crypt without cutting or bruising the tissue.
At-home tools are for small, reachable stones. See a dentist or an ENT if one tonsil is visibly larger than the other and stays that way, if you have repeated throat infections, ongoing pain or difficulty swallowing, persistent ear pain, or any bleeding. Lasting one-sided tonsil enlargement in particular should always be assessed in person, because a persistent asymmetry needs a professional to rule out other causes rather than a swab.
Frequently asked questions
Sources
- 1.
- 2.
- 3.
- 4.
- 5.
- 6.
- 7.
- 8.
- 9.

Fix your breath at the source.
The complete science-backed protocol — engineered to eliminate volatile sulfur compounds at the biological source.
Start the Breath Protocol →Related reading
Educational purposes only. The content on this page is not medical advice and is not a substitute for consultation with a qualified dental or medical professional.
More from the library
 Best Of8 min
The Best Tonsil Stone Removal Tools (and the One to Never Use)
A calm, evidence-led guide to the tools that clear tonsil stone debris without hurting the delicate crypt tissue — and the one category you should never put near your throat.
Read →→ Best Of8 min
Low-Pressure Water Flosser for Tonsil Stones
Why a low-pressure flosser is the tonsil-safe choice, what pressure range to look for, and how to clear crypt debris without bruising the tissue.
Read →→ Guides9 min
How to Make Tonsil Stones Fall Out (Gently and Safely)
Why most tonsil stones fall out by themselves, and the gentle, low-pressure way to help one along without ever gouging at delicate tonsil tissue.
Read →→ Answers8 min
ENT Specialist for Tonsil Stones: When You Actually Need One
The honest guide to when a tonsil stone is a job for an ear, nose and throat specialist — and the red flags you should never sit on.
Read →→ Causes8 min
How Do Tonsil Stones Form? The Biology, Honestly Explained
The unglamorous truth about what a tonsil stone is, how it builds up in the folds of your tonsils, and why the crypts that make them are simply part of your anatomy.
Read →→ Answers8 min
Can Tonsil Stones Make You Sick? An Honest Look
A calm, honest look at whether tonsil stones can actually make you unwell, the local nuisances they do cause, and the red flags worth taking seriously.
Read →→